
NOTE: Only certain pages on the MSM/IMAG Website can be edited. Others are system-generated (hard coded) and cannot be edited directly. For example, none of the "landing pages" - those pages that you can access directly from the horizontal menu bar, can be edited. You must click on an actual content item (such as a Working Group title), and the View/Edit/Revisions tabs appear.
ALSO NOTE: The step-by-step instructions for uploading documents and images varies slightly depending on the browser you are using to access the website.
For Documents:
- Navigate to the page that you wish to edit, and click on the Edit tab.
- In the Body of the page (the editor), place your cursor where you would like the image or document to appear.
- Click the File Browser button. PLEASE NOTE: .pptx files must be converted to .ppt or .pdf to upload.
- Click Click or drop files here to upload them or Select files, and choose the file you would like to upload from your computer.
- If you already uploaded the file into the database, you click Files listing and choose the file you would like to upload.
- Click Select entities.
- Click Use selected.
- Click Embed.

- Directly beneath the editor where you have entered the file, choose Full HTML as the Text Format.
- Scroll to the bottom and click Save.
- The document is now embedded on the page.
For Images:
- Navigate to the page that you wish to edit, and click on the Edit tab.
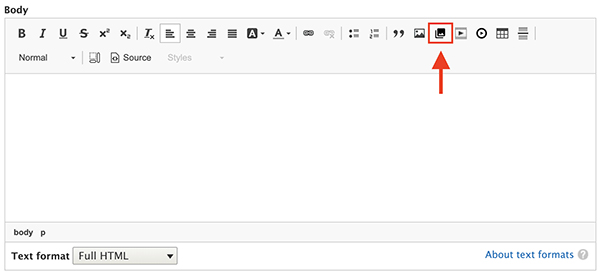
- In the Body of the page (the editor), place your cursor where you would like the image or document to appear.
- Click the Image button.

- Click Choose file, and choose the image you would like to upload from your computer.
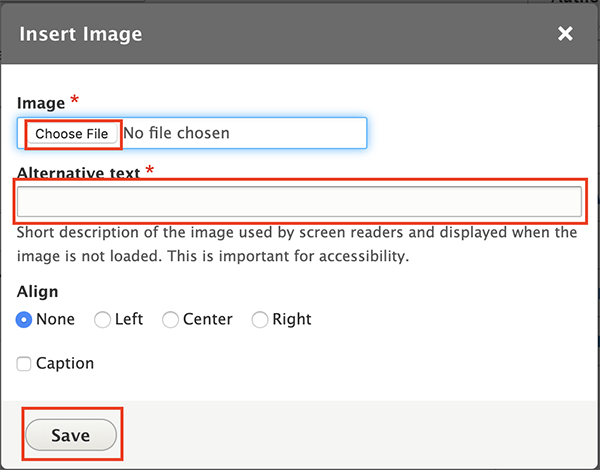
- You MUST fill out the Alternative text field for the selected image.
- Click Save.
- Directly beneath the editor where you have entered the file, choose Full HTML as the Text Format.
- Scroll to the bottom and click Save.
- The image is now embedded on the page.
Table sorting checkbox
Off